If the photo looks usable, check it before you pay
Use the free preview to screen the current image, then choose the final UK passport photo route only when the source photo is worth keeping.
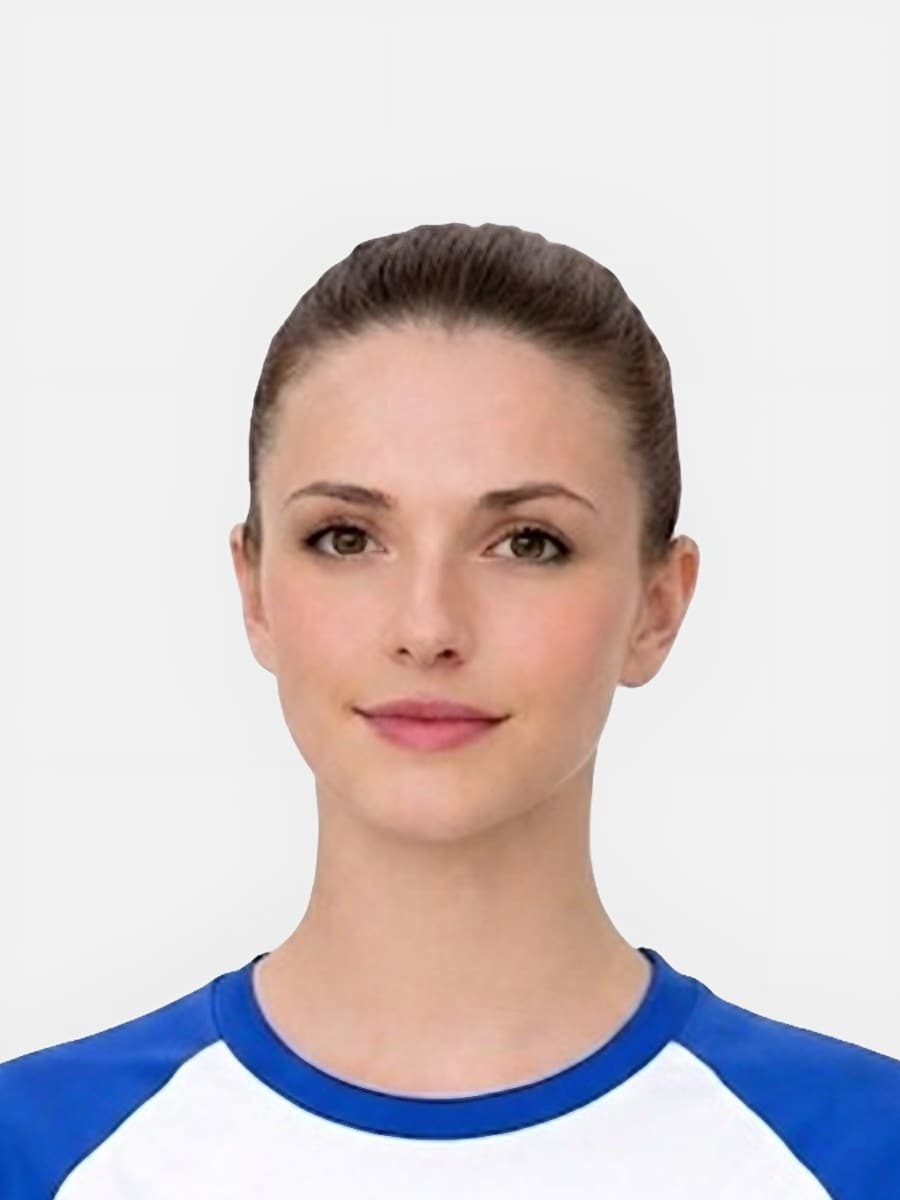
Use this size guide when your main question is dimensions, crop, head position or whether the source image has enough space around the face.
A printed UK passport photo is normally 35mm x 45mm. For any route, the practical issue is whether the head, face and shoulders are correctly framed inside the final image.
Size pages win search traffic because they answer one narrow problem well and hand users into the main workflow only after the crop question is clear.
Related guidance: UK passport photo requirements · digital passport photo UK · printable passport photo UK · free passport photo checker · passport photo dimensions UK · passport image size UK · head-size guide
Use the free preview to screen the current image, then choose the final UK passport photo route only when the source photo is worth keeping.
Use this short list to decide whether the current photo is worth continuing with.
Follow this sequence to keep the workflow clear and reduce avoidable mistakes.
Check whether the full head, chin and shoulders are visible before thinking about final dimensions.
For printed output, use 35mm x 45mm and make sure the crop still looks natural inside that frame.
For digital output, focus on the visible crop, face position and file suitability rather than the printed millimetre size.
If the source image already cuts off the hair, chin or shoulders, retaking is safer than trying to resize it.
These are the errors most likely to waste time or trigger a preventable rejection.
The 35mm x 45mm rule applies to printed UK passport photos, but digital applications still need a correctly framed face.
Most visible size problems are really crop and head-position problems.
Resizing changes the outer file or print dimensions, but it cannot restore missing image content.
This is the size and crop support page, not the main buying page.
This page should own dimensions, head size and crop intent while linking to checker and requirements pages.
Trust improves when the page explains when resizing is not enough.
Passport photo searches often mix requirements, checker, digital upload, code, and privacy questions. These related routes help you choose the right next step without relying on a government affiliation claim.
Printed UK passport photos are normally 35mm x 45mm. The crop inside that size still needs to show the face and head correctly.
Digital routes do not work exactly like printed millimetre sizing, but the final image still needs a passport-style crop and clear face position.
Not always. If the source photo is blurred, too close, cut off or badly lit, resizing alone will not make it suitable.
If there is enough space in the source image, the crop may be adjustable. If the top of the head is already cut off, retaking is usually safer.
Use this guide to understand the size issue. Use the checker when you want to test a real source photo before choosing a final output.
No. The photo also needs suitable crop, face visibility, lighting, background and output route.
Use it when the face looks too large, too small, too high or off-centre before checkout.
Use the upload flow when you already have a source image, or keep exploring the guides if you still need to fix the setup first.