Quick checklist
Use this short list to decide whether the current photo is worth continuing with.
- Confirm whether your question is about rules, image size, digital upload, photo code, or print output.
- Use a clear source photo with enough room around the head and shoulders.
- Check the preview before checkout instead of paying for a weak source image.
- Use official GOV.UK or HM Passport Office instructions for the final application step.
Step by step
Follow this sequence to keep the workflow clear and reduce avoidable mistakes.
- 1
Identify the photo task
Decide whether you need a rule explanation, a digital file, a photo code, or a printable output.
- 2
Check the source image
Look for obvious rejection risks such as blur, strong shadows, glare, tight crop, or busy background.
- 3
Use the preview-first route
Open the checker or main online service and continue only if the prepared preview looks suitable.
- 4
Choose the correct output
Use digital, code, or print-ready guidance based on what the application route actually asks for.
Common mistakes
These are the errors most likely to waste time or trigger a preventable rejection.
- Treating a digital upload file, photo code, and printable sheet as the same output.
- Assuming size alone means the photo will be accepted.
- Uploading a close selfie that leaves no room for a compliant crop.
- Ignoring photo handling, support, and refund information before checkout.
Take the picture before thinking about output
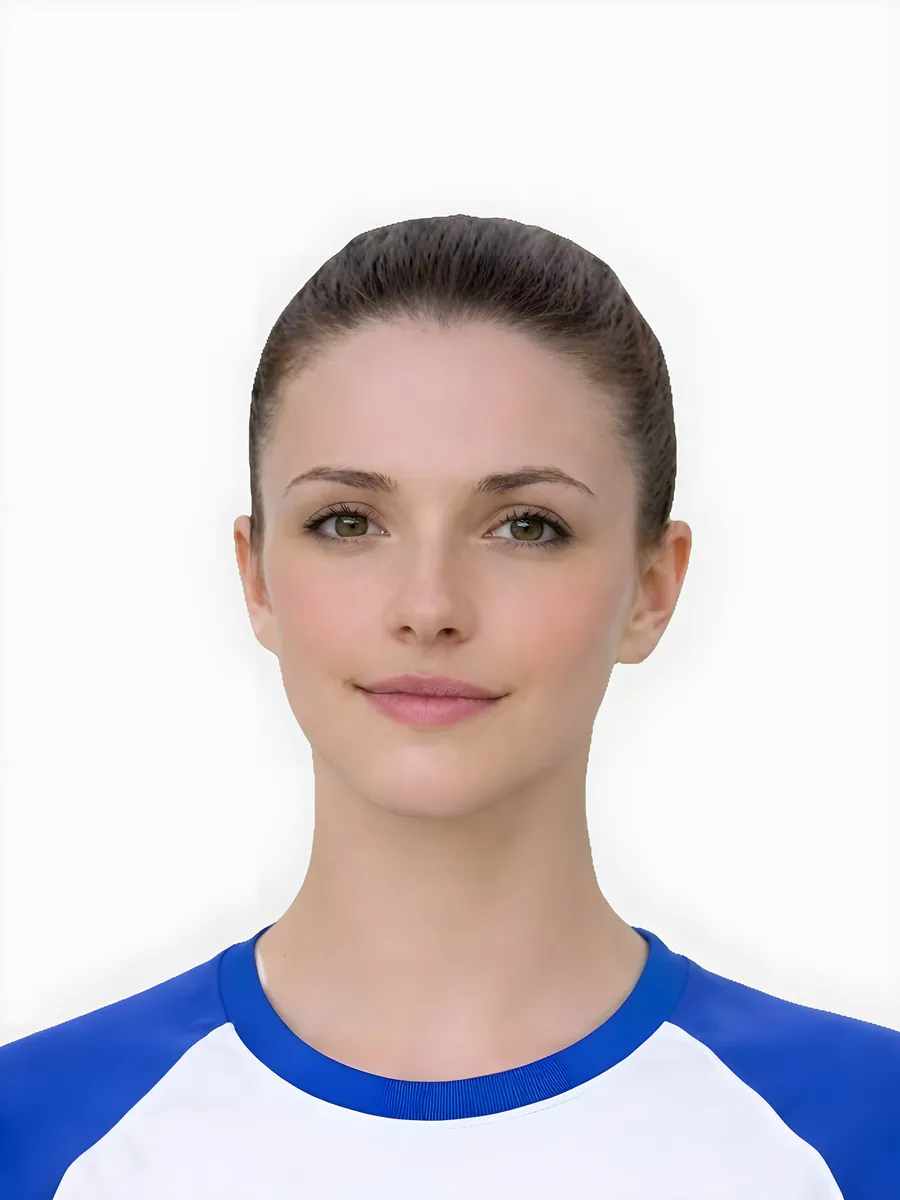
The strongest passport picture starts before upload.
- Use plain surroundings and even light.
- Keep the head straight and eyes visible.
- Avoid cropped screenshots, social photos, filters, and group photos.
- Leave enough room around the head and shoulders for a formal crop.
Check, then choose the output
Once the source picture looks usable, choose the route.
- Use the checker if you want a keep-or-retake decision first.
- Use the digital page if the application accepts direct upload.
- Use the code page if the application asks for a photo code.
- Use the printable page if paper output is needed.
Picture problems that need a retake
This adds distinct value for broad picture queries.
- The picture is a screenshot or compressed social copy.
- The head is cut off or too close to the frame.
- The face is angled, blurred or partly hidden.
- The background makes the hair or shoulders hard to separate.
Picture quality checks before upload
The page needs practical checks so Google sees unique utility rather than another generic keyword page.
- The face should be sharp and not hidden by hair, glare, hands, or objects.
- The background should be plain enough and not cast strong shadows.
- The head should not be cut off or too tightly framed.
- The file should not be a screenshot or heavily compressed copy.
Route the finished picture correctly
Most wrong purchases happen after the picture is prepared, when the output route is still unclear.
- Use digital output for direct upload forms.
- Use code output only when the application asks for a code.
- Use print-ready output only when paper photos are needed.
- Use the checker if the picture may need a retake before payment.
Best next step for picture searches
This reduces duplicate intent and routes users to the strongest page.
- Use requirements if the user is still learning the rules.
- Use size guidance if the question is dimensions or head-size.
- Use the checker if the user already has an image.
- Use the online service page when ready to create the final output.
Route this search to the right next step
These long-tail pages should clarify wording, provider, route or output intent before asking the user to continue.
- Use picture-wording pages to support the same photo-preparation entity without creating duplicate intent.
- Use provider and alternative pages for comparison, not unsupported competitor claims.
- Use where-to-get pages to compare online, booth, shop, digital, code and print routes.
- Use checker, requirements and trust pages before checkout when source quality or confidence is the blocker.
Route this search to the right user action
The added content is designed to reduce pogo-sticking by sending users to the page that matches their exact stage.
- Use the requirements or size hub when the user is still checking rules.
- Use the checker when the user already has a possible source image.
- Use digital, code or printable output pages when the final route is known.
- Use support, safety, refund and independent-service pages when trust is the conversion blocker.
Canonical route and next action
The page now more clearly supports the strongest matching canonical route rather than competing with nearby pages.
- Use requirements and size pages for rules and technical framing questions.
- Use checker when the user already has a source image.
- Use output comparison before choosing digital file, photo code or print-ready sheet.
- Use trust and provider pages when the user is comparing services before upload.
A picture guide should help users decide keep, retake or check
This guide should be practical rather than generic: users need to know whether their current picture is usable.
- Keep the picture if it is sharp, evenly lit and naturally centred.
- Retake if hair, glare, shadows or blur affect the face.
- Use the checker when the picture looks close but uncertain.
- Choose digital, code or print output only after the picture is suitable.
FAQ
Can a passport picture be taken at home?
Yes, if the source image is clear, recent, evenly lit, and leaves enough room for a compliant crop.
What is the safest next step after taking the picture?
Use a checker before checkout. If the source picture is weak, retake it rather than trying to force a poor crop.
What makes a good passport picture?
A good passport picture is sharp, recent, evenly lit, clearly shows the face, has a plain background, and leaves enough room for correct framing.
Can I use a picture from my phone?
Yes, if it is the original sharp photo, not a compressed screenshot or heavily filtered copy.
What should I do after taking the picture?
Check the picture first, then choose the digital, code, or print route required by your application.
What is the quickest way to use this picture guide?
Use it to understand the main risks, then check a real source image before choosing a paid output.
Does this page replace the requirements page?
No. It supports alternate wording and routes users to the full requirements hub when they need deeper rules.
Is a passport picture different from a passport photo?
In most UK searches, people use both terms for the same thing. The important part is whether the image meets the relevant passport photo requirements.
Can I use a phone picture for a UK passport photo?
Yes, if the phone picture is sharp, evenly lit and has enough room around the head. Use the checker before paying if unsure.
Should I crop the picture myself first?
Avoid over-cropping before upload. A wider original gives the preparation tool more room to produce a balanced result.
Prepare your photo before you submit it
Use the upload flow when you already have a source image, or keep exploring the guides if you still need to fix the setup first.