Stop early if the face already looks soft at full size.
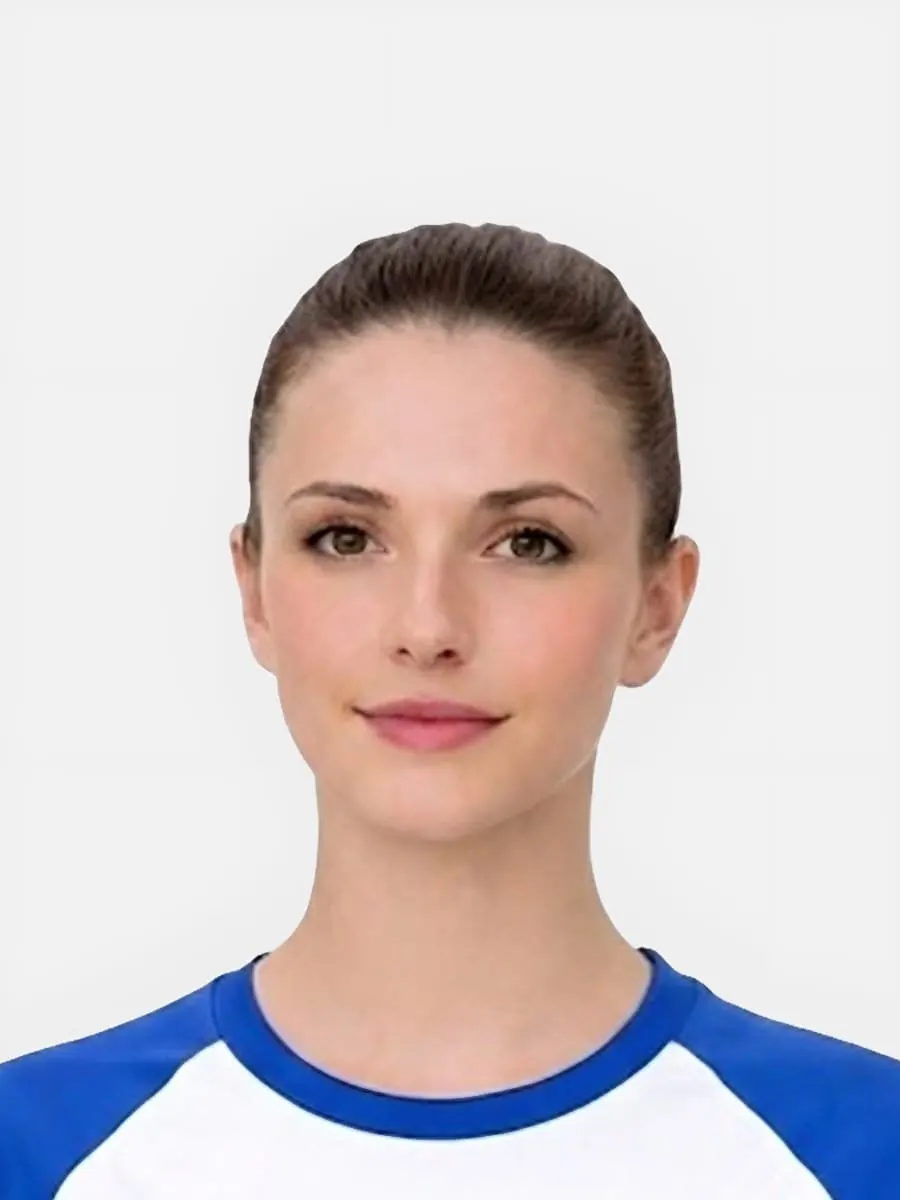
Screen the current photo before you choose a package
Use the original image, check the visible risks first, and decide keep versus retake before checkout.
Go deeper only when one specific issue is still unclear
Move into the narrower guide when the real uncertainty is rules, crop, or a likely rejection rather than the whole workflow.
Choose the next route only after the photo looks usable
If the image looks workable, continue to the final photo flow. If the route is still unclear, compare digital upload, photo code, or baby-photo guidance before checkout.
Quick checklist
Use this short list to decide whether the current photo is worth continuing with.
- Upload the original photo rather than a screenshot or compressed social image.
- Check background, lighting, and crop before worrying about the final output type.
- Treat the free preview as a screening step, not a magic fix for every weak source photo.
- Move to the requirements or rejection pages if more than one problem stands out.
Step by step
Follow this sequence to keep the workflow clear and reduce avoidable mistakes.
- 1
Upload a clear source photo
Start with the original phone or camera image so the preview can assess the background, crop, and lighting more realistically.
- 2
Review the free preview
Look for obvious issues first, especially shadow, blur, cluttered background, and awkward face position.
- 3
Compare against the rules
Use the requirements, size, and rejection pages if the photo still looks uncertain after the first screening pass.
- 4
Choose the right paid output only if it looks right
Move to digital, photo code, or print-ready only when the preview suggests the source image is strong enough to keep.
Common mistakes
These are the errors most likely to waste time or trigger a preventable rejection.
- Treating any free checker as a guarantee instead of a filter.
- Ignoring blur because the background cleanup looks better.
- Choosing print or photo code before deciding whether the photo itself is usable.
- Uploading an image that is already cropped too tightly to recover cleanly.
What the checker can and cannot decide
Clear limits make the checker more trustworthy.
- It can help identify visible image risks.
- It cannot approve an official passport application.
- It does not replace choosing the correct digital/code/print route.
- It should be used before checkout when the source image is uncertain.
Verify the source
Official sources
Passport-Photo.co.uk is an independent service. Use these primary sources to verify the relevant passport-photo rules or information rights. Linking to them does not imply government endorsement.
FAQ
Does the checker guarantee approval?
No. It helps screen visible photo risks but does not make official application decisions.
What happens after a photo passes the checker?
Review the prepared preview, then choose the output route your application needs.
Ready to start
Prepare your photo before you submit it
Use the upload flow when you already have a source image, or keep exploring the guides if you still need to fix the setup first.