Digital Photo + Photo Code
Most Popular
£4.99
- HD digital file (JPEG/PNG)
- UK photo code for online applications
- Instant download
- Acceptance guarantee coverage
This page is for users who do not need a broad glasses rules article. They want to know quickly whether reflections, glare, or heavy frames are still hiding the eyes too much and whether the safer move is to keep the image, remove the glasses, or retake it.
A passport photo glasses glare checker should help users decide whether reflections or frames hide the eyes enough to require a retake before paying for final output.
Eye-area visibility problems are highly shareable because people can compare them quickly, but the correct answer still depends on whether the eyes remain clear at full-size review.
Related guidance: free passport photo checker · glasses guidance · glasses glare rejection guide
Most Popular
Use this short list to decide whether the current photo is worth continuing with.
Follow this sequence to keep the workflow clear and reduce avoidable mistakes.
If the eyes are hard to assess because of reflection, the retake decision is often already clear.
Decide whether the issue is light glare, a heavy frame edge, or both together.
Keep the image only when the eyes still read clearly. Otherwise remove the glasses or retake the image with a better angle and lighting setup.
Use the general checker, glasses guide, or rejection page depending on whether glare is still the one issue left.
These are the errors most likely to waste time or trigger a preventable rejection.
Glasses-glare traffic needs a practical micro-check, not another generic rules summary.
This gives users a concrete next action if the source photo is risky.
This checker page supports users who are not sure whether reflections make the image unusable.
This connects the page to the wider face and capture cluster.
This page should own glare-diagnostic intent and link naturally to the glasses guide.
Glare checker pages should explain when editing is not enough.
Glare over the eyes can make a photo unsuitable even if the crop and background look correct.
Give users a practical way to retake quickly.
Not every reflection is equally risky.
After glare is resolved, route users into the correct service page.
This diagnostic page should solve a specific visible rejection risk.
This helps users avoid paying for a weak source photo.
The page now sends users to the safest next step based on whether they are researching rules, checking a source image, or choosing a paid output.
Glare checker searches need a direct answer: if glare hides the eyes or changes their appearance, retake before paying.
Long-tail impression pages should earn trust by helping users choose the right next step, not by forcing every query into the same sales message.
The page now more clearly connects the user search intent to the next safest action.
This added section makes the page a clearer bridge from long-tail search to the right next step.
This decision block helps users avoid paying again for a source photo that is unlikely to work.
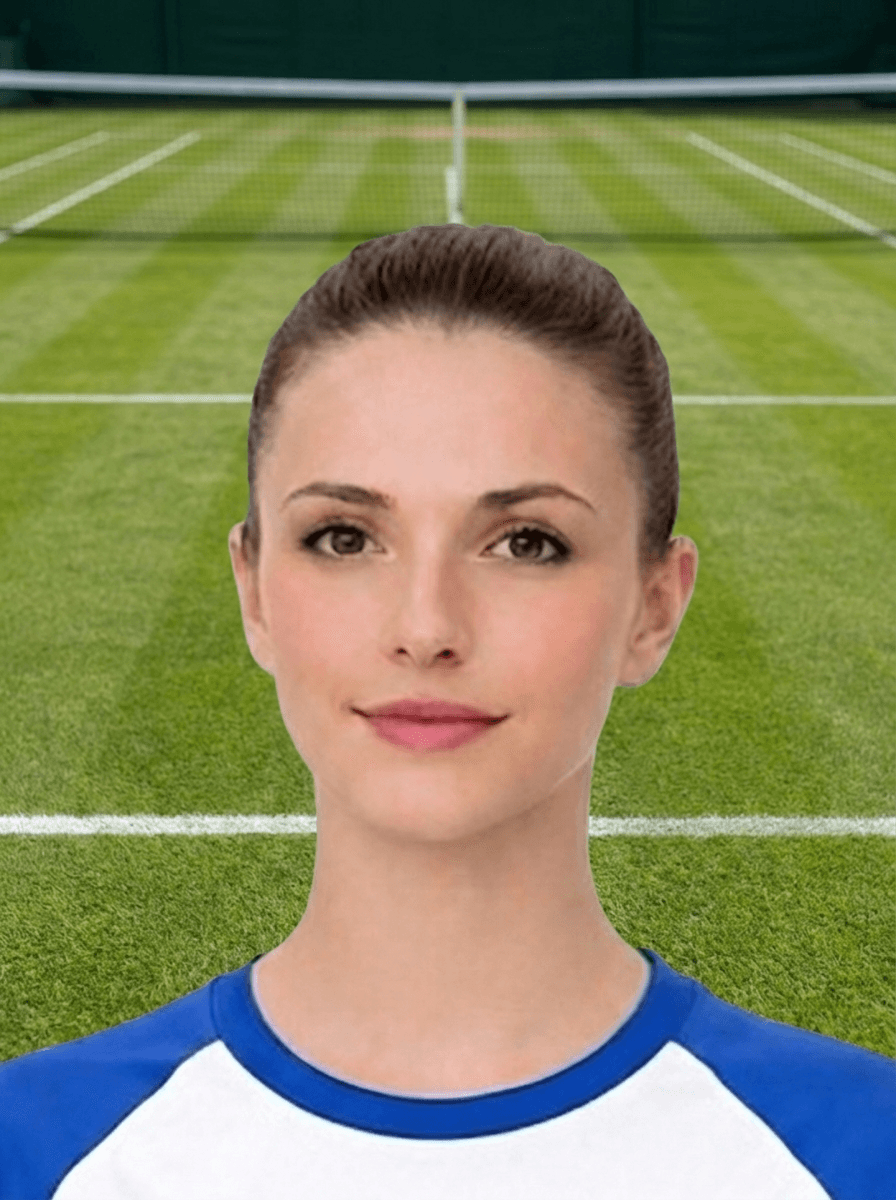
The key question is whether both eyes are clearly visible without reflections, tinted lenses or frames causing obstruction.
Passport photo searches often mix requirements, checker, digital upload, code, and privacy questions. These related routes help you choose the right next step without relying on a government affiliation claim.
If glare does not hide the eyes it may be less serious, but glare over the eyes is a strong reason to retake.
Retake without glasses when glare, shadows or frames make the eyes unclear.
Small reflections may be improved, but glare over the eyes is usually safer to solve with a retake.
Retake if glare covers the eyes, lenses are tinted, or frames obscure the face. Mild reflections may still be risky if eye detail is unclear.
Glare is blocking when it covers the eyes, changes their appearance or makes facial detail unclear.
Glasses can be acceptable only if the eyes are clearly visible and there is no glare, tint or frame obstruction.
Heavy editing around the eyes is risky. Retaking with better lighting is usually safer when glare covers the eyes.
Use the upload flow when you already have a source image, or keep exploring the guides if you still need to fix the setup first.