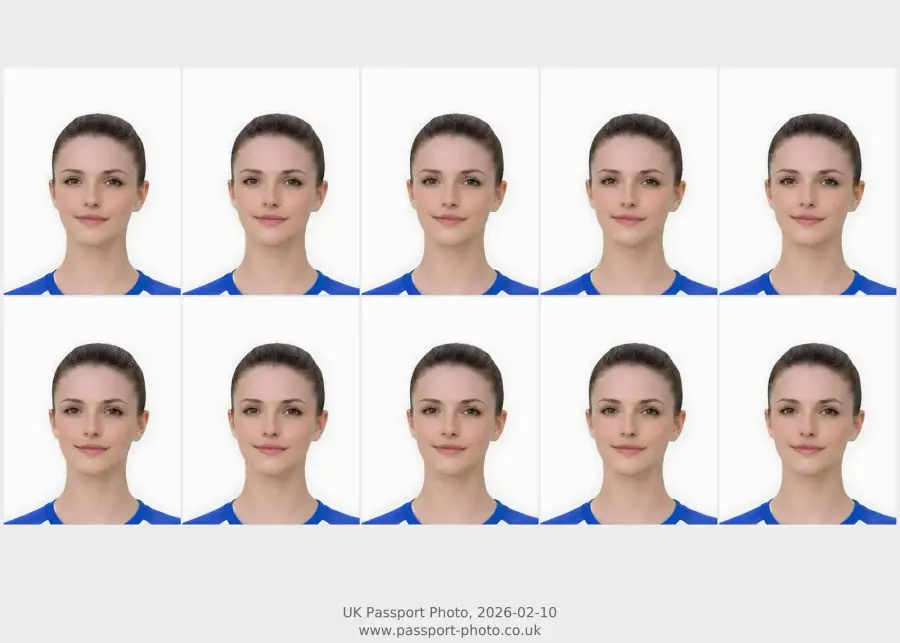
Quick checklist
Use this short list to decide whether the current photo is worth continuing with.
- Make sure you have a neutral expression with your mouth closed.
- Look straight into the camera (no tilted heads).
- Ensure the background is completely plain and light-coloured.
- Check that your face is evenly lit without harsh shadows.
Step by step
Follow this sequence to keep the workflow clear and reduce avoidable mistakes.
- 1
Upload your photo
Take a photo against any relatively plain wall and upload it to our tool.
- 2
Automatic Processing
We will automatically crop it to 35x45mm and replace the background with a compliant plain colour.
- 3
Download or Print
Get the digital file for online applications, or a 4x6 print-ready sheet for physical visa appointments.
Common mistakes
These are the errors most likely to waste time or trigger a preventable rejection.
- Using a photo with a busy or patterned background.
- Smiling or showing teeth.
- Wearing tinted glasses or thick frames that obscure the eyes.
Schengen-style visa photo basics
Use this page for practical preparation, then confirm the exact rules for your consulate or appointment provider.
- Many Schengen-style visa routes ask for a 35mm by 45mm photo.
- The face should be clear, centred, evenly lit, and shown against a plain light background.
- Some appointments still require printed copies, while other routes may accept a digital upload.
- Country, consulate, and appointment-provider instructions should be treated as the final authority.
Schengen visa photo: keep this route separate from UK passport photos
Schengen searches should not be redirected into generic UK passport-photo copy. The page needs clear route-specific boundaries.
- Check the current Schengen visa photo instructions for the application route.
- Use this page for photo-preparation guidance, not visa application approval.
- Start with a sharp, recent, front-facing source image.
- Avoid assuming a UK passport photo output is automatically correct for Schengen use.
Common Schengen-style photo risks
This gives practical value without inventing country-specific guarantees.
- Face too small or too large after crop.
- Background not plain enough.
- Strong shadow across face or wall.
- Glasses glare, hair or head angle hiding facial details.
Photo-quality checks that still matter
These are practical across many document photo routes while not replacing official requirements.
- Clear, front-facing face.
- Even light without strong shadow.
- Plain background and visible head outline.
- No filters, heavy edits or compressed screenshots.
Schengen visa photo: do not assume UK passport rules are enough
Visa pages should support adjacent demand while making clear that each visa route can have its own photo requirements.
- Check the visa authority or application centre instructions first.
- Use passport-style preparation only when the route accepts that format.
- Check size, background, face visibility and file or print route separately.
- Do not assume a UK passport photo code is useful for a visa route.
When online preparation may help
This creates a truthful bridge from visa intent to the broader photo-preparation service.
- You need a clean, front-facing head-and-shoulders image.
- You have a usable source photo and need digital or print-ready output.
- You want to check background, shadows, crop and face visibility before paying.
- You understand that the visa authority makes the final decision.
How to avoid choosing the wrong photo route
Many users arrive from passport-photo searches but actually need a visa image, a passport application upload, or a print. The safest first step is to identify the document and output before paying.
- Use visa guidance when the application is for a Schengen visa rather than a UK passport.
- Use the UK requirements page only when the document is a UK passport.
- Use the digital route when the application asks for an upload file.
- Use the printable route only when you need a sheet to print or take to a counter.
When to check the photo first
A photo can look usable on a phone but still be weak for official-style photo processing. Check the source before choosing a final output.
- Retake first if the face is blurred, blocked, angled, or too tightly cropped.
- Check background and shadow before assuming software can rescue the image.
- Use the checker when the source looks close but you want a pre-payment keep-or-retake decision.
- Use support pages for service questions, not for official visa or passport application decisions.
Passport photo service boundaries for visa users
This site is UK passport-photo focused, so visa users should treat this page as route-selection guidance, not as official visa advice.
- Check the visa application instructions for exact photo specifications and submission format.
- Use UK passport-photo pages only when the document is a UK passport.
- Use the checker when the photo quality is uncertain before paying.
- Use Contact for website order questions, not for official visa application decisions.
Common reasons to retake before ordering
Retaking early is often faster than trying to force a weak source photo through a preparation flow.
- The face is soft, blurred, or too small in the source image.
- The background is cluttered or strongly shadowed.
- The head is cropped too close to the top or side edge.
- The expression, glasses glare, or hair makes the face hard to assess.
Schengen visa photo checks from the UK
Schengen pages should be distinct from UK passport pages and focus on visa-route caution.
- Check Schengen-specific size, background, and output requirements.
- Confirm whether the application needs digital upload or printed photos.
- Do not rely on a UK passport page alone for visa requirements.
- Use a clear source image with no blur, glare, or hidden face.
Common Schengen photo mistakes
Useful visa support should help users avoid retakes.
- Wrong output route for the appointment or online form.
- Incorrect print scale or crop.
- Strong shadows or non-plain background.
- Using a low-quality screenshot or compressed image.
Where to go next
Route visa users without diluting the UK passport page intent.
- Use visa photo online UK for broader visa output guidance.
- Use printable output if paper photos are required.
- Use digital output if the route accepts upload.
- Use passport requirements only for UK passport applications.
Schengen photo checks before ordering
Schengen queries have impressions but need clearer practical checks.
- Confirm current embassy or visa-centre instructions.
- Check whether digital upload or print is needed.
- Check size and background requirements.
- Use a source photo with enough space around the head.
Online preparation path
Turn informational intent into a careful next step.
- Upload a clear source photo.
- Check preview and crop.
- Choose print or digital based on the visa route.
- Do not proceed if the required format is unsupported.
Consolidation path for this query
The page now acts as a clearer bridge into the strongest matching service, checker or guidance page.
- Use the checker when the user already has a source photo.
- Use family-specific pages when the user is asking about child, baby or newborn photos.
- Use where-to-get and near-me pages when the user is still comparing capture routes.
- Use output pages when the user needs file, code or print-ready guidance.
Trust and route decision support
The page now makes the user decision clearer before they upload, pay, print, contact support or compare providers.
- Use official channels for official application status and eligibility.
- Use Passport-Photo.co.uk pages for photo preparation, route choice, preview, support and policy questions.
- Use checker and requirements pages before paying when the source photo or output route is uncertain.
FAQ
Is a Schengen visa photo the same as a UK passport photo?
They are often similar in size and style, but requirements can vary by country and appointment route. Always check the official instructions for the visa you are applying for.
Do I need a printed photo or digital?
It depends on your application method and appointment provider. Use the digital file when the route accepts upload, or the print-ready sheet when the instructions ask for paper photos.
Can I use a UK passport photo for a Schengen visa?
Do not assume so. Check the specific Schengen visa photo requirements for your application route.
Can I prepare a Schengen visa photo online?
You may be able to prepare a suitable image online if the source photo is clear and the required format is known.
Do Schengen visa photos need to be printed?
It depends on the appointment or application route. Check whether it asks for printed photos or digital upload.
What should I check before preparing a visa photo?
Check document-specific size, background, output format, and source-photo quality.
Can I make a Schengen visa photo online in the UK?
Often yes if you know the required size and output route, and your source photo is clear enough.
Should I print or upload my Schengen photo?
Follow the visa centre or embassy instructions for your application route.
Are Schengen visa photo rules the same as UK passport photo rules?
Not always. Visa requirements can differ by country and application route, so users should check the route they are applying through.
Can I use this service for visa photo preparation?
Only use it when the required size and format are clear and match the available output route.
Prepare your photo before you submit it
Use the upload flow when you already have a source image, or keep exploring the guides if you still need to fix the setup first.