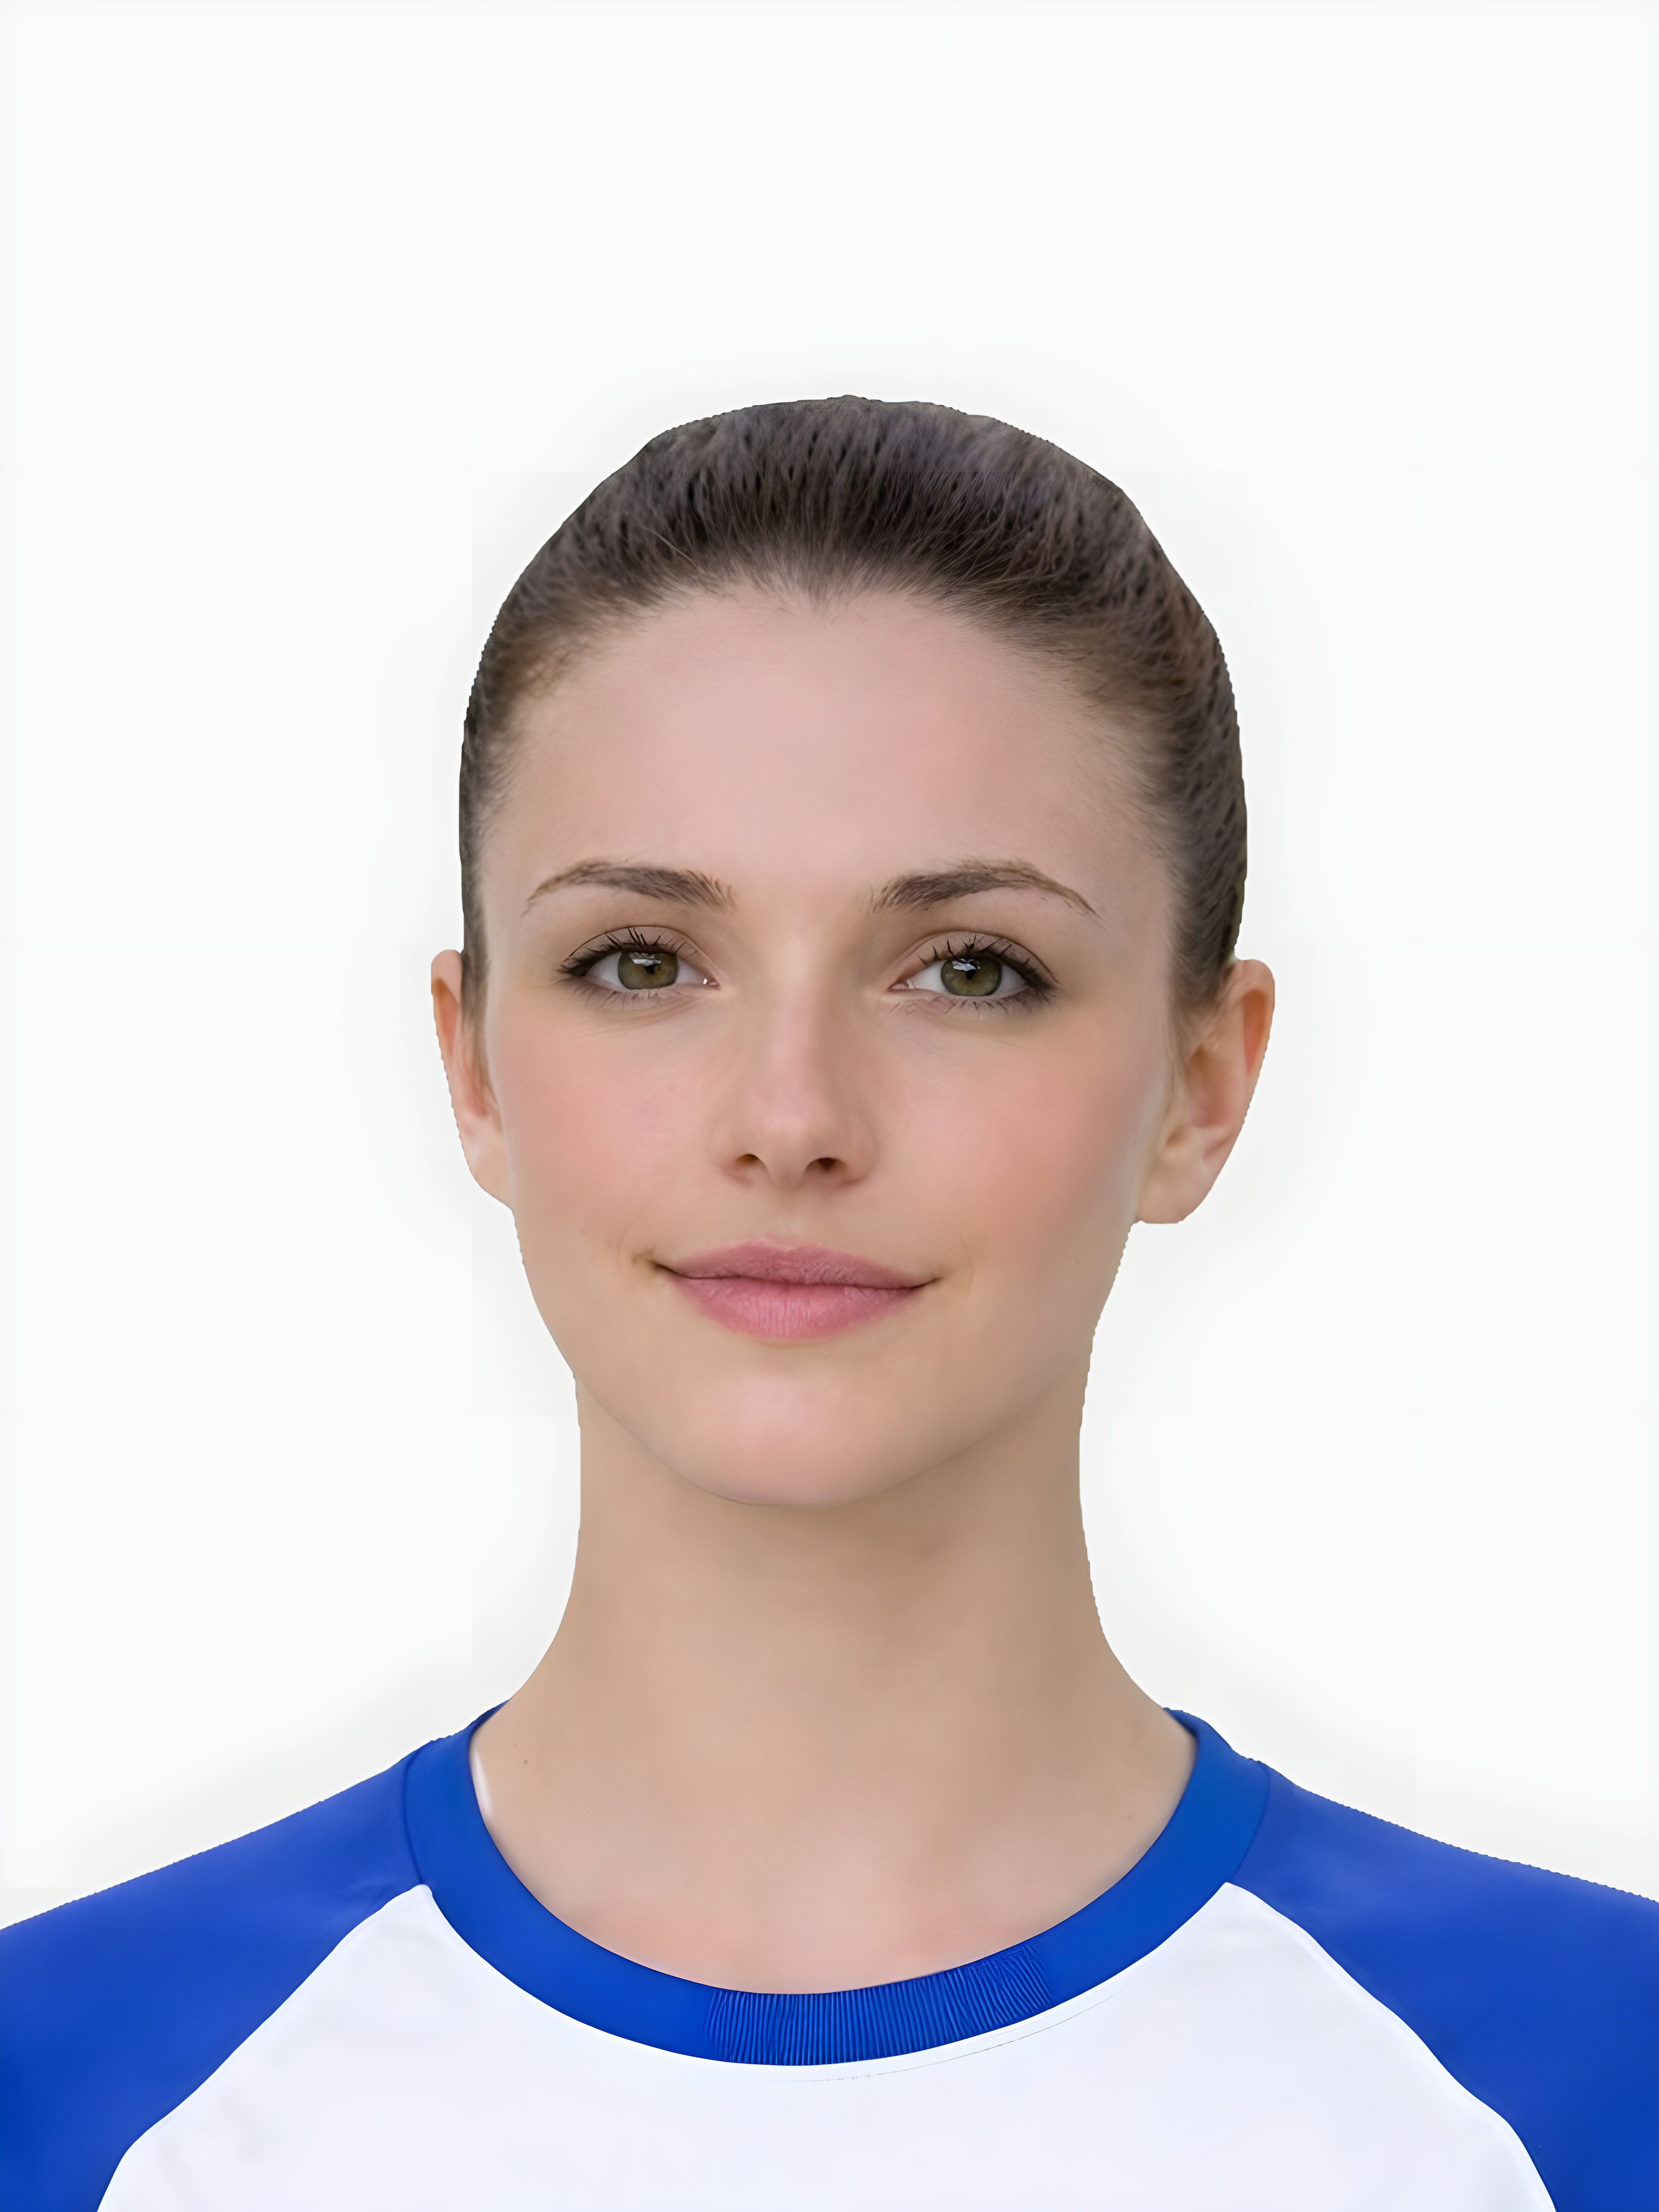
Digital Photo + Photo Code
Most Popular
£4.99
- HD digital file (JPEG/PNG)
- UK photo code for online applications
- Instant download
- Acceptance guarantee coverage
Start with a clear phone or camera photo, check whether your application needs an upload file, a photo code, or a printed sheet, then use the route that matches the application instead of buying the wrong output.
To get a digital passport photo, start with a clear source photo, check the prepared preview, then download a digital file only if your application route asks for direct upload rather than a photo code or printed photos.
Independent digital-workflow guide. It is designed to answer the process question directly and stop users from buying the wrong output.
Related guidance: digital passport photo UK · passport photo upload checklist · where to get digital passport photos
Most Popular
Use this short list to decide whether the current photo is worth continuing with.
Follow this sequence to keep the workflow clear and reduce avoidable mistakes.
Begin with the clearest available original image so the digital workflow has a strong starting point.
Use the route that is built for online-ready digital files instead of mixing in print-led language too early.
Review crop, lighting, background, and face visibility before you treat the file as ready.
Move into photo-code or print guidance only if the actual application path calls for it.
These are the errors most likely to waste time or trigger a preventable rejection.
Most users asking this are trying to avoid the wrong route, not looking for a long theory page.
The user usually loses time when digital, code, and print are mixed together too early.
A process page still needs a clear stop rule.
Users asking how to get a digital passport photo often fail at the final upload step because the file route and image quality were not checked together.
This query is process-led. The user wants the steps, but the real risk is mixing direct upload, code, and print-ready outputs.
Semrush shows “how do you get a digital passport photo” and “where can I get a digital photo for a passport” ranking low. This page should answer the how-to path before routing to the money page.
The answer should compare practical routes without turning into a local-directory page.
How-to visitors should not be stranded after reading the answer.
This page targets users who are not sure how a source photo becomes a digital passport photo.
This helps avoid route mismatch.
The page should explain why some source images still need retaking.
Process pages rank better when they solve realistic objections rather than repeating generic instructions.
Passport photo searches often mix requirements, checker, digital upload, code, and privacy questions. These related routes help you choose the right next step without relying on a government affiliation claim.
You start with a clear source image, prepare it for digital submission, and check that the final file looks right before adding any code or print step. If the route still feels unclear, compare where to get a digital passport photo before you pay.
Usually by starting with a clear phone or camera image at home, staying on the digital-first route, and checking the prepared result before paying. The shop step only helps when it genuinely removes friction from your application route.
Start with a clear phone or camera photo in even light against a plain background, then check the prepared result before you treat the digital file as ready. If the source image still looks weak, retake it before moving further.
No. The digital photo is the file itself. A code is only relevant in some later application handoff flows.
Yes, if the original phone image is clear enough and the final digital result still meets the main requirements.
Retake it when the source image is obviously blurry, dark, badly framed, or otherwise too weak to trust after preparation.
Check that the route accepts a direct upload file, then review the prepared image for crop, background, lighting, face visibility, and sharpness before paying or submitting.
You can prepare one online from a suitable source image, then choose the digital output if your application accepts direct upload.
Not always. A home or phone source photo can work if it is sharp, evenly lit, correctly framed, and checked before payment.
Use the checker first if quality is uncertain, then choose digital file, photo code, or print-ready output based on the application route.
Use a clear source photo, prepare it online, check the preview, then download the final digital file if it suits your application route.
No. A digital photo is a file for upload; a code is a separate route used only where requested.
Yes, if it is sharp, evenly lit and leaves enough room for a compliant crop.
Use the upload flow when you already have a source image, or keep exploring the guides if you still need to fix the setup first.