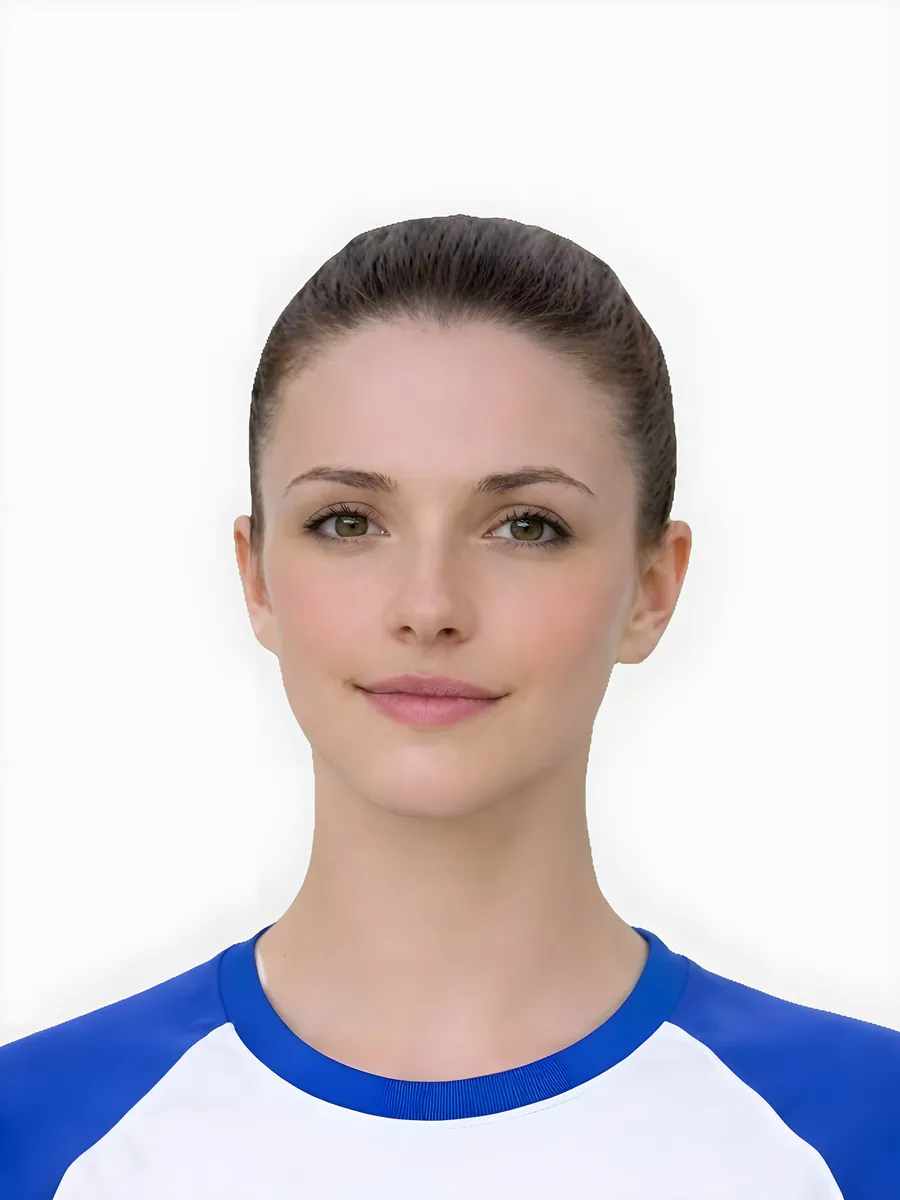
Digital Photo + Photo Code
Most Popular
£4.99
- HD digital file (JPEG/PNG)
- UK photo code for online applications
- Instant download
- Acceptance guarantee coverage
Emergency passport searches come from users under time pressure, but the photo step still has to be correct. This page is designed to remove photo-led delay and route the user into the right urgency guidance quickly.
For emergency UK passport situations, the photo should not create avoidable delay. This site can help prepare or check the photo, but official urgent-passport eligibility and appointment decisions remain outside the service.
Independent urgency guide. It explains the passport photo step around emergency searches, but it is not the official HM Passport Office service.
Related guidance: urgent passport renewal · British passport processing time · UK passport online tutorial
Most Popular
Use this short list to decide whether the current photo is worth continuing with.
Follow this sequence to keep the workflow clear and reduce avoidable mistakes.
Work out whether the query is really about the emergency route, the timing, or the photo itself so the next action is obvious.
Sort the image first when possible so appointments and uploads are not delayed by avoidable photo issues.
Blur, lighting, crop, and facial visibility still matter even when time pressure is high.
Use the urgent-renewal, processing-time, or checker pages depending on what is still unclear.
These are the errors most likely to waste time or trigger a preventable rejection.
Emergency-intent users are often close to action, not early researchers.
The photo is often the hidden delay inside an urgent route.
The page should end with a short route, not abstract advice.
Emergency-route pages need strong boundaries. The site should only claim photo preparation help.
This helps users avoid obvious photo problems under time pressure.
This supports urgent intent without making speed claims.
Emergency pages should be cautious: the service can help with the photo, not the official emergency process.
Urgent users are likely to take shortcuts that create failures.
Keep the claim precise and truthful.
Urgent users are more likely to submit a poor source image.
Keep the commercial role precise.
Speed-sensitive pages should be useful without claiming control over official processing.
Long-tail impression pages should earn trust by helping users choose the right next step, not by forcing every query into the same sales message.
The page now tells users whether they are dealing with photo preparation, output selection, support, or an official application question.
The page now makes clear whether the user needs official application help, a better source photo, a preview check, or a specific paid output route.
The fastest useful check is whether the source image is good enough to continue.
Yes. Even urgent routes still depend on a usable photo, so image problems can create delay if they are left until the last minute.
Usually yes. Start with the strongest digital image you can and only branch into code or print if the actual route clearly needs it.
Use the checker and rejection guidance before you rely on it. Urgency is not a good reason to keep a photo that is visibly soft, dark, or badly framed.
Use the urgent-renewal, processing-time, tutorial, or main passport-photo pages depending on whether timing, route choice, or image quality is the main blocker.
No. It only helps prepare and check passport photos. Emergency passport services are handled by official routes.
You can prepare a photo if you already have a usable source image. Check the official route first and preview the photo before relying on it.
No. It only helps with photo preparation. Use official guidance for emergency passport applications.
Use the sharpest recent photo that clearly shows your face and has enough space for final framing.
Yes. A quick check can prevent wasting time on a source image that needs a retake.
No. It only helps prepare photo output. Emergency passport applications are handled through official channels.
Yes, if you have a clear source photo and know which output the official route asks for.
Rushing with a blurry, dark or tightly cropped source image that cannot be safely prepared.
No. It can help prepare a passport-style photo output. Emergency passport application handling is separate.
Take the clearest source photo you can, check it before payment, and choose the output route required by your application.
No. It can help prepare the photo, but official appointment availability and passport processing are controlled by the official service.
No. It can help prepare the photo, but official emergency appointments and passport decisions are controlled by the official service.
No. Emergency passport services are official application processes. This site only helps prepare a passport-style photo.
Yes. A quick check can reduce the risk of photo-related resubmission or delay.
Use the upload flow when you already have a source image, or keep exploring the guides if you still need to fix the setup first.